Japanese version Home Page Updated on January 22, 2006
Create Image Gallery
This page introduces how to create an image gallery using the PIXY System 2. Go to the PIXY System 2 page.The function to create an image gallery has the following characteristics.
This function is useful to find good images or images where clouds or satellites passing over, among many images while looking them all over using a WWW browser. The image brightness is adjusted automatically and properly, so you do not have to adjust one by one. Here are the steps to create an image gallery using the PIXY System 2.
Let's follow the steps in detail. First of all, run the PIXY System 2 and select [Tool] - [Image Conversion] menu in the main menu window. (*)
Then a new table window appears. 
Then add image files to show in the gallery onto the new window. Drug image files from a filer application, like Explorer, and drop them on the table. You can also push Add Image button and select a file. When the JIMI (Java Image Management Interface) is installed, it can open the FITS, unsigned 16-bit FITS, SBIG, PPM, JPEG, GIF, PNG, TIFF, BMP files. 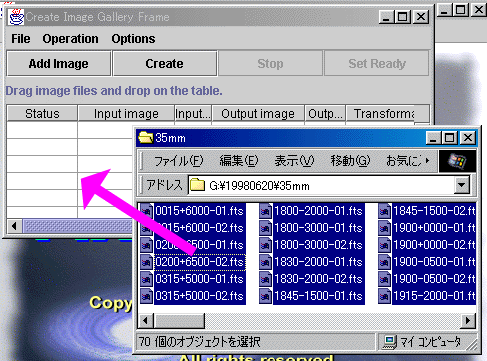
Next, change the output filenames and formats. The output file format is PPM by default. When the JIMI (Java Image Management Interface) is installed, it can save the image into JPEG, PNG, BMP, PPM, 8-bit raw files. Double-click a cell in the table and you can change the filename or format. 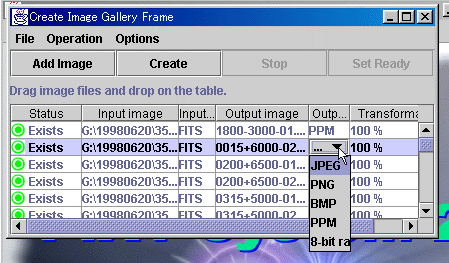
In order to change the format or file extension of all images at one time, select [File] - [Configuration] menu, then a dialog appears. Set the file format and extension in the dialog. 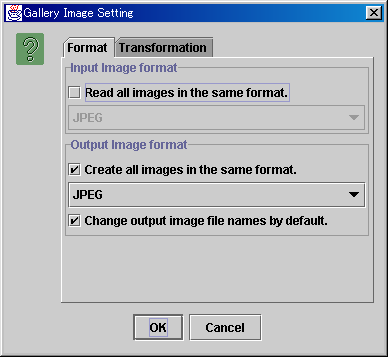
You can also change the image size. When you want to specify the size of an image, double-click a cell in the table. When you want to change the size of all images at one time, select [File] - [Configuration], then a dialog appears. Set the image size of all in the dialog. 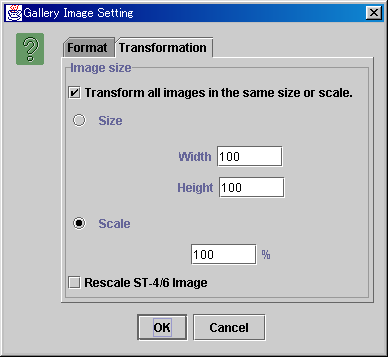
When the setting is completed, push Create button, then a dialog appears. Specify the folder to create gallery images in the dialog. 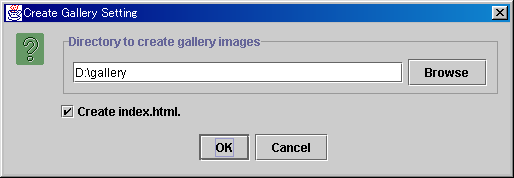
Push OK button and the process starts. When the process of an image finishes, the status is changed to Done.
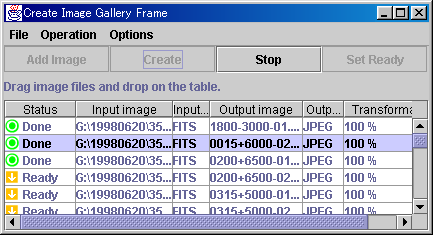
When the gallery is created, a message appears. 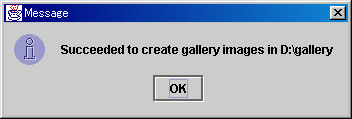
Open the generated index.html using a WWW browser, Internet Explorer or Netscape Navigator, and you can see the gallery. Example of GalleryAs this example shows, you can easily pick up such images where the landscape overlaps, or where the clouds or airplanes pass over, and so on. |

